Click on an image twice to edit the features or replace it.
| The image properties form |
|
| Click to enlarge |
Unlike other editor forms in MailStyler, the image properties form can be enlarged by dragging the lower-right corner of the window.
|
| Click to enlarge |
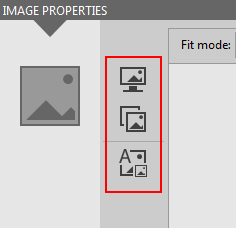
The buttons on the left of the screen allow you to:
- Choose an image by searching through your computer's folders.
- Choose an image from those available in the MailStyler Picture library.
- Add text to the images.
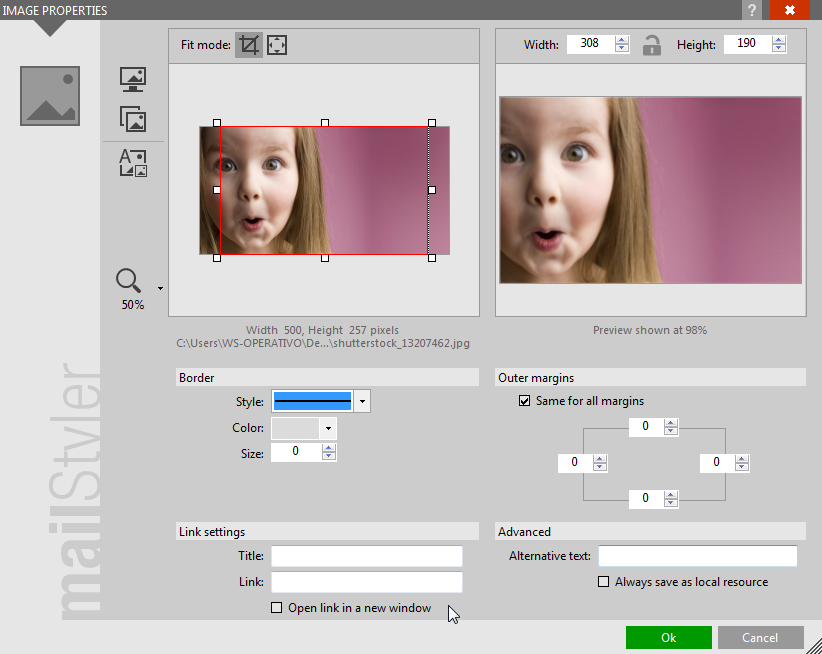
After selection, the left panel shows you the selected image, in its original aspect.
|
| Click to enlarge |
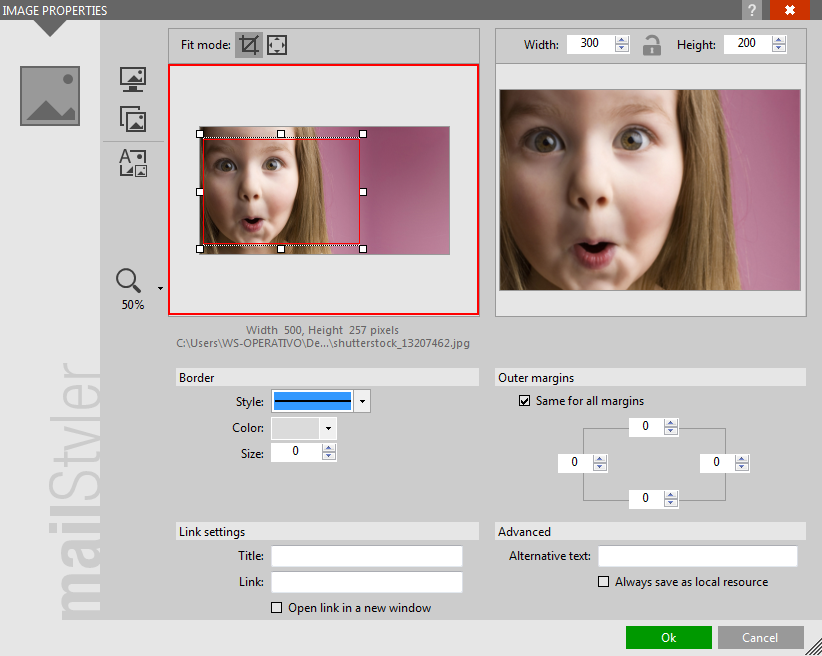
You can increase or decrease zoom through the magnifying glass icon on the left of the image panel.
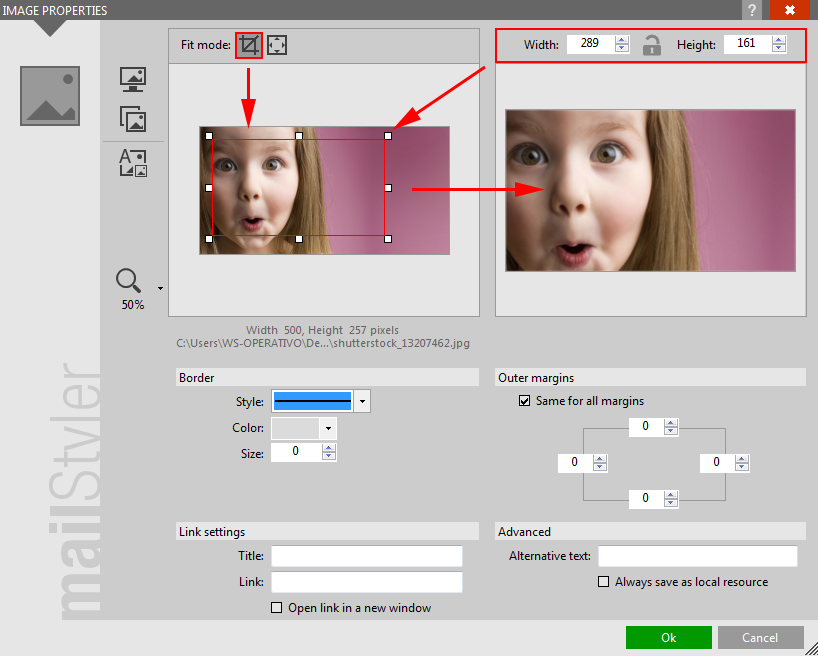
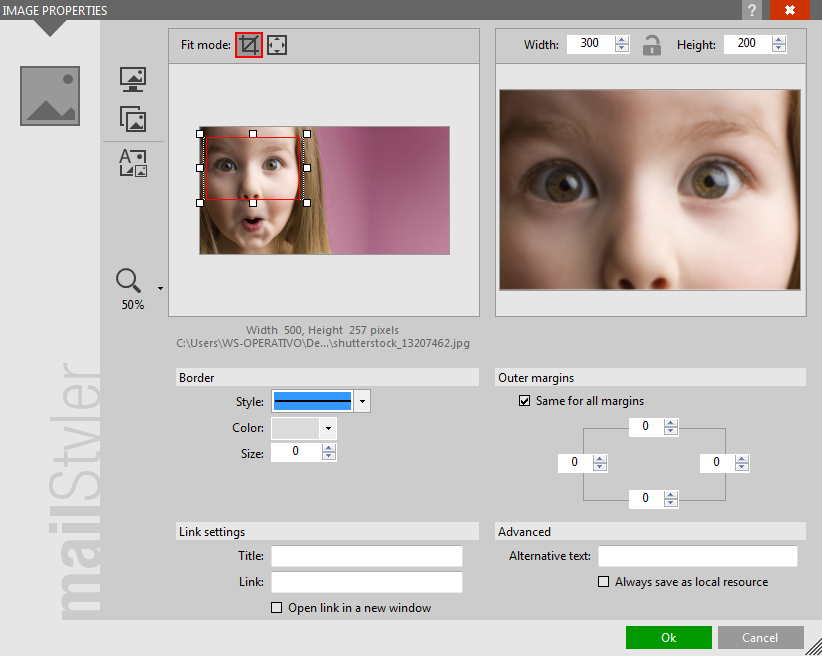
When the Resize icon at the top of the screen is set to Crop, a red rectangle appears within the selected image that defines the visible portion once editing is completed.
| Cropping rectangle |
|
| Click to enlarge |
You can select an area of the left image you want to use as source, by clicking the image and drawing a rectangle area:
- Click inside the selected area to move the selection.
- Click the anchors around the selection to change its size.
- Click anywhere outside the selected area to remove the selection.
|
| Click to enlarge |
The right panel shows you a preview of the image as it will be displayed in the newsletter.
You can change the size by using the Width and Height commands found immediately above the image. The command Maintain Proportion, represented by the padlock icon, allows you to maintain the image's proportion unchanged when you change the width or height.
Keep in mind that the image preview in the right panel may be shown reduced in size, depending on the available space on the form. A small label will indicate the zoom ratio.
RESIZE
The Resize Mode lets you decide how the image will be resized.
Regardless of whether your source image is an entire image or a detail, the destination image will be resized to match the size defined in the Width and Height controls:
- Resize Mode = Crop: the source image is cropped horizontally or vertically to best fit into the destination rectangle.
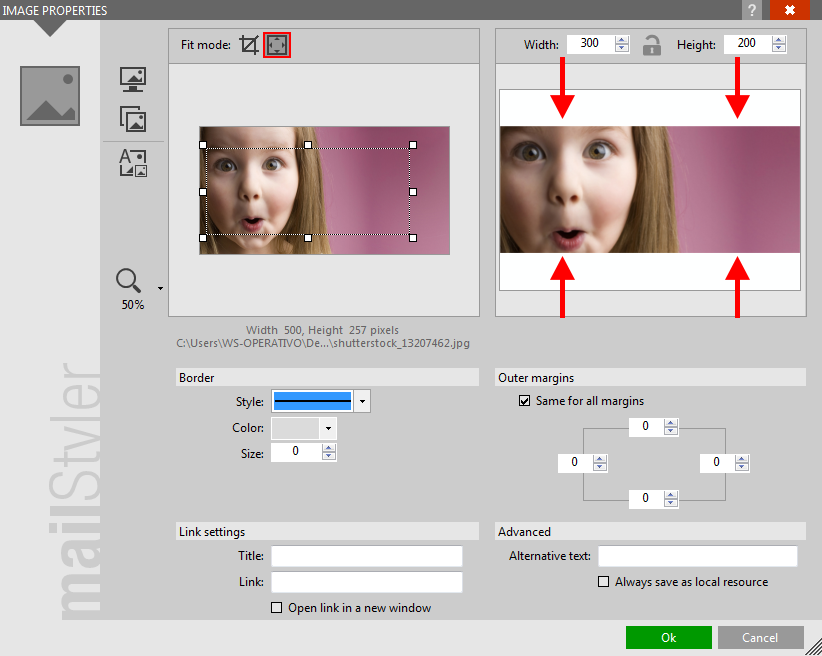
- Resize Mode = Zoom: the source image is shrunk or enlarged to fit entirely into the destination rectangle. Vertical or horizontal transparent areas will be added to ensure that the aspect ratio is preserved.
|
| Click to enlarge |
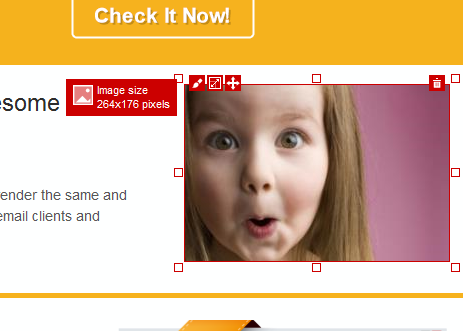
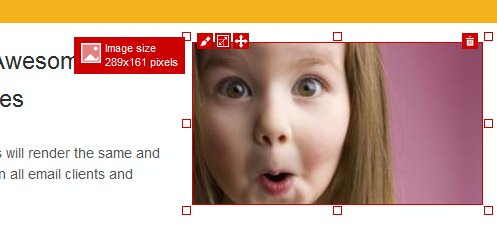
Keep in mind that images can also be resized directly from the newsletter body by dragging one of the anchor points displayed when the image is selected.
During resize and according to the resize setting defined in the global preferences, the crop mode will define how the image is resized, on the fly.
|
| Click to enlarge |
|
| Click to enlarge |
The lower area of the form displays the controls that enable you to define additional settings:
- Border: defines the style (invisible, solid, dashed or dotted), color (solid or transparent) and size (or thickness) of the image border.
- External margins: the space between the image and the elements surrounding it. The size of each margin (top, bottom, left and right) can be determined separately. If the All Margins Equal option is selected, the size of all four margins assumes the same value when the size of a single margin changes.
- Link settings: creates a link on the image.
- Title: is the text that appears when you hover over the image.
- Always save as local resource: choose where the image will be placed during the export process.
Check it if you want the image to be saved as a local file despite images destination option chosen during export.
ADD TEXT AND IMAGES
MailStyler 2 allows you to create complex graphics elements by combining text and images.
To add text to the selected image, click the button Add text to image. The Image properties screen will open.
To the left, you will find the buttons:
- Add text: allows you to add text (see the details below in the "Add text" paragraph).
- Add image from file: allows you to add an image from your computer (see the details below in the "Add image" section).
- Add image from library: allows you to add an image from the MailStyler Image Gallery (see the details below in the "Add image" section).

|
At the bottom, you will find the buttons:
- Select: with each click on the button, the elements (text or images) in your workspace are selected in sequence.
- Zoom: adjusts the magnification of the preview image.
At the top, you will find the buttons:
- Save: saves the changes to the image and returns to the previous screen.
- Cencel changes: ignores changes made.
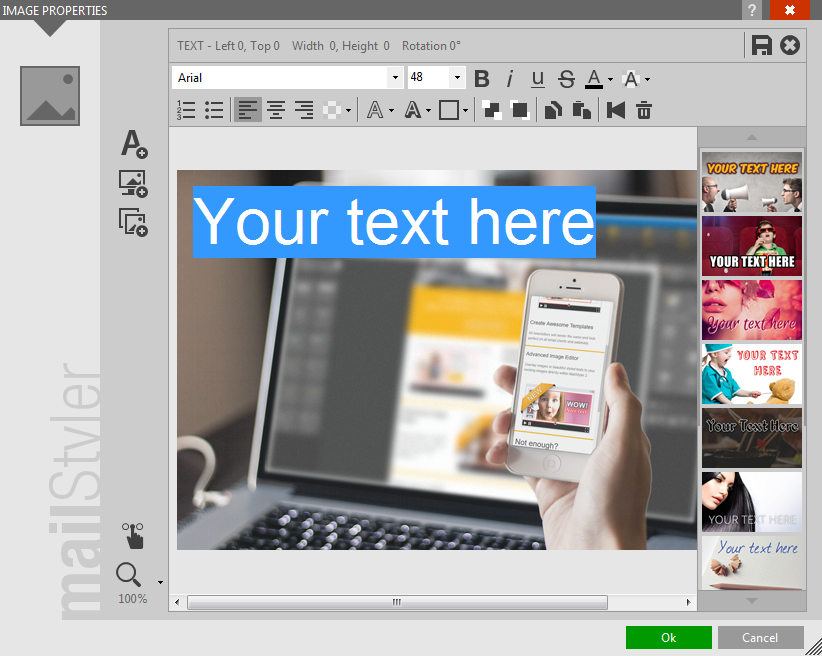
ADD TEXT
To add text click on Add text: the editing area contains the sample sentence "Add your text here." Clicking it will display a red frame that defines the text area.
| Add text to image |
|
| Click to enlarge |
To move the text box and its contents, place your cursor inside. The cursor will change to a hand. Hold down the left mouse button and drag the text area to the desired location.
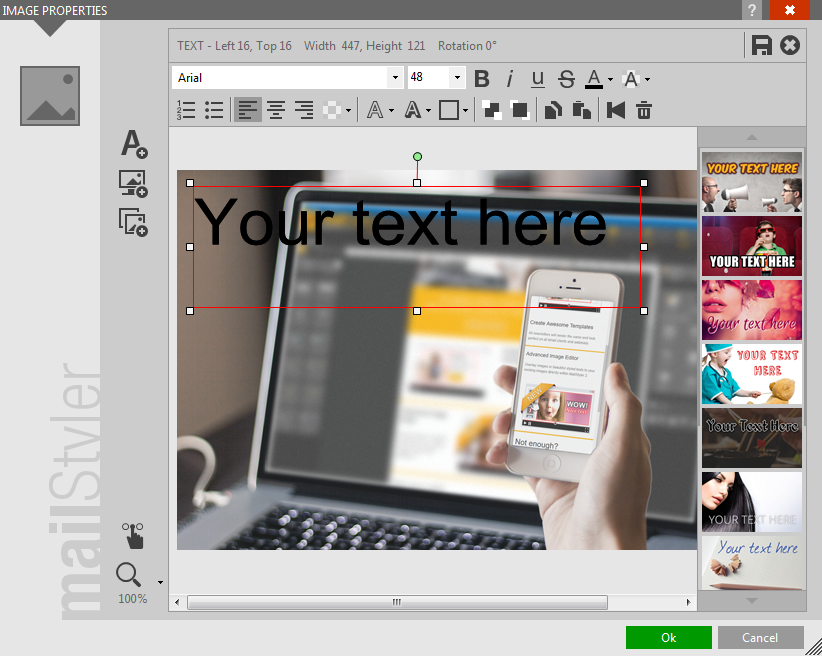
The size of the text area can be changed through the handles that appear on the edges.
| Add text to image |
|
| Click to enlarge |
To rotate the text area, place the mouse pointer over the green dot above the text area. Hold down the left mouse button as you move the mouse to rotate the area.
The location and orientation of the text area are shown at the top of the screen.
You can quickly format the text using one of the pre-set styles shown in the boxes on the right. Click on the text and, when the border appears around it, click on the side box that contains the style you want to apply. You can preview text by hovering your mouse pointer for more than one second on one of the boxes. By clicking a box, the style is immediately applied to the text within the selected area.
To return to the original look of the text, click on Reset, the last box on the bottom.
To format text, you must select the portion you want to edit, and then modify the style using the following tools available on the toolbar:
- Font type: Select the font you want to use through the drop down menu. To the left you can see a preview of the font;
- Font size: sets the font size. Higher values are equal to larger sizes;
- Bold: applies Bold style to the selected text;
- Italic: applies Italic style to the selected text;
- Underline: applies Underline style to the selected text;
- Strikethrough: applies Strikeout style to selected text;
- Selection text color: sets the color of the selected text;
- Selection back color: sets the background color of the selected text;
- Numbering: creates a numbered list;
- Bullets: creates a bulleted list;
- Align left: aligns the paragraph to the left;
- Align center: aligns the paragraph in the center;
- Align right: aligns the paragraph to the right;
- Background: sets the background color of the text area;
- Outline: applies an outline to the selected text. You can select both the outline color and size.
- Shadow: applies a shadow effect around the selected text. You can edit these features:
- Color: sets the shadow color;
- Distance: sets how far the shadow must be from the text;
- Size: sets the size of the shadow. With a 100% value, the shadow will have the same size as the text;
- Angle: sets the shadow position with respect to the text;
- Opacity: sets the intensity (transparency) of the shadow;
- Blur: sets the degree of blurring of the shadow edge. The shadow may thus appear more defined or more blurred;
- Border: allows you to create a border around the text area. The color, style (continuous, dashed or dotted) and the size (thickness), can be set;
- Send to back: when the selected text area is superimposed on another element, it is moved back in relationship to the element;
- Bring to top: when the selected text area is superimposed on another element, it is moved forward in relationship to the element;
- Copy: copies the selected text area;
- Paste: pastes the copied text area;
- Reset: undoes all the changes made, restoring the text area to the original position and formatting conditions;
- Delete: removes the selected text area
Click on OK to confirm the changes made and update the image in the edit area, or Cancel to discard the changes.
ADD IMAGE
MailStyler allows you to add images through the buttons:
- Add image from file: to search for the image on your computer;
- Add image from Library: to select an image from the Image Library.
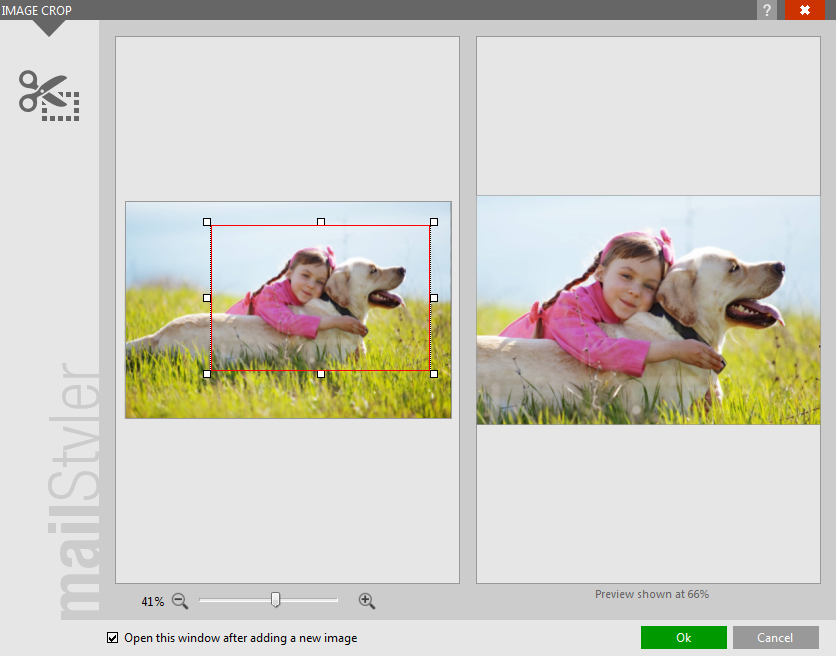
The selected image appears on the screen Crop image, where, if necessary, you can select and crop only a part of it.
The original image is displayed on the left pane of the screen. You can adjust the zoom level by moving the cursor lower.
| Add image |
|
| Click to enlarge |
The red border around the image indicates the part that will be used. If you want to add the whole image, click directly on the OK button. If you want to select only one part, drag the points on the edges and corners of the red rectangle until surrounding the area that you want to use. The preview in the right panel shows which part of the image will be added. Click the OK button to confirm the selection and add the image to the workspace.
The toolbar contains the following commands for further image operations:
- Select image area: opens the selected image on the screen;
- Picture Crop: allows you to crop only part of the image;
- Crop: allows you to crop the desired portion of the image through the points at the edges of the image;
- Zoom: allows you to define the zoom level of the added image by using the handles around its edges;
- Opacity: defines the transparency level of the selected image. A 100% value makes the added image fully visible. As the value decreases, the image tends to blend with the background or the underlying image;
- Border: allows you to create a border around the text area. The color, style (continuous, dashed or dotted) and the size (thickness), can be set;
- Send to back: when the selected image is superimposed on another element, it is moved back in relationship to the element;
- Bring to top: when the selected image is superimposed on another element, it is moved forward in relationship to the element;
- Copy: copy the selected image;
- Paste: pastes the copied image;
- Reset: undoes all changes made, restoring the image to its original position and size conditions;
- Delete: removes the selected image.
Click on OK to confirm the changes made and update the image in the edit area, or Cancel to discard the changes.
See also
Image library