The Export menu enables you to save your newsletter to disk in a format suitable for your email client program or a simple .pdf.
Files exported by MailStyler can later be loaded into email marketing services (as eMailChef) or into mass-mailing softwares (such as SendBlaster) and further customized, or can be loaded into your favorite e-mail client and sent directly to your mailing list contacts.
CHOOSING EXPORT FORMAT
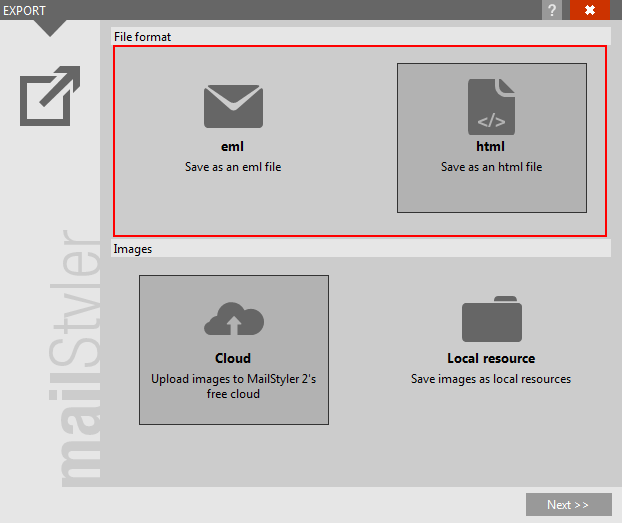
The upper frame enables you to define the kind of export file you want to create.
Choose between EML (better suited for loading the newsletter into an e-mail client, such as Mozilla Thunderbird or Microsoft Outlook) or HTML (preferred choice if you need to load your newsletter into a email marketing software).
| Choosing export format |
|
| Click to enlarge |
DEFINE IMAGE LOCATION
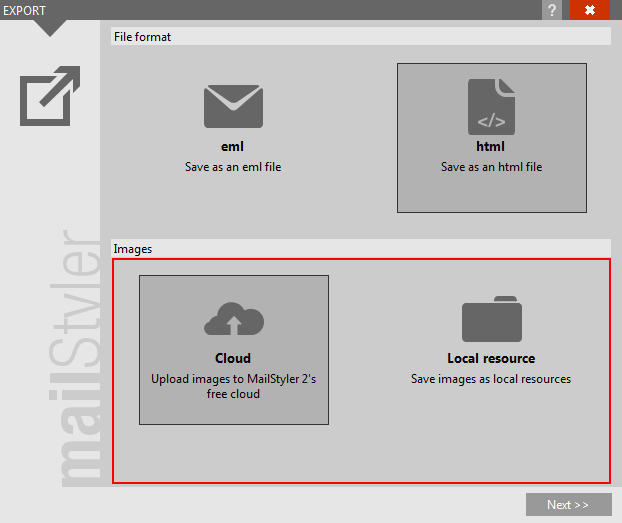
The lower frame enables you to define the destination for the images in the newsletter.
Select Cloud (PRO version only) to upload all images to MailStyler 2 free cloud, so you won’t have to worry about all the annoying details related to uploading images to your cloud storage.
Select Local resource to export the images to a local folder (html files) or to embed them in the file (eml file).
If you choose to export to a local file with local images, MailStyler 2 will also create a folder containing all the images exported. The folder will be named like the exported file, with the extension _files. For example if you export a file named My newsletter.htm, the images will all be placed in a folder named My newsletter_files.
| Define image location |
|
| Click to enlarge |
Regardless of the destination you choose for images (cloud or local) you can force each image independently in the newsletter to be saved locally instead of having it exported to the cloud. See Editing images for more information.
Images saved locally for HTML files will be saved in the My newsletter_files connected folder, while for eml files they will be embedded in the eml file.
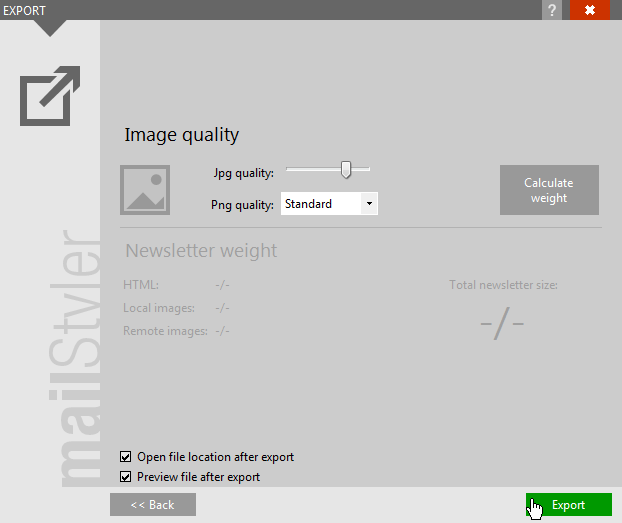
Through the Quality Jpeg slider you can select the level of resolution of the images in jpg. Remember that higher levels of resolution correspond to a greater weight of the images. The PNG Quality menu, instead, allows you to export PNG graphics files in standard or enhanced format, which allows you to obtain the best compromise between image quality and template final weight.
The button Calculate weight provides a detailed report about the template total weight, as well as about the specific HTML files and images embedded or uploaded to the Cloud. Images weight may be recalculated after changing image quality settings, allowing to find the right compromise between resolution and weight of the template. Keep in mind that a large files takes longer to be sent over to a smaller one.
By ticking the Open file location after export checkbox a new explorer window will be open, showing the location where files are saved; otherwise you can tick the Preview file after export checkbox if you want to open the exported file in the corresponding program.
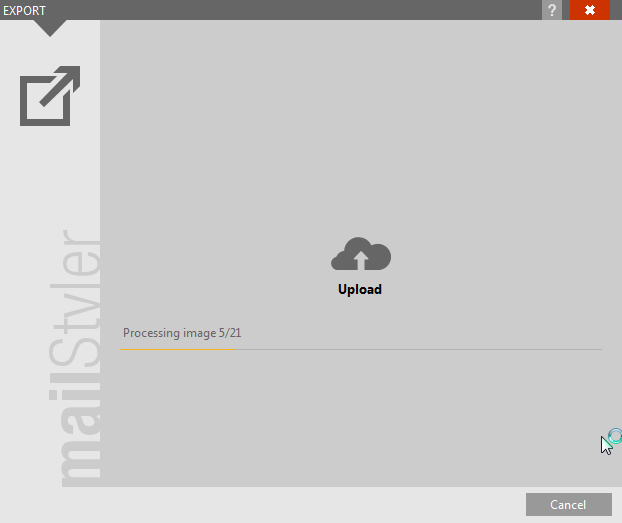
FILE UPLOAD AND EXPORT REPORT
If your export task requires images to be uploaded to the web (Cloud option) , the last step will show you a loading bar to check the process.
| Uploading files | Export report |
 |
 |
| Click to enlarge | |
Export PDF allows you to export the template in PDF format. This great new feature allows you to send your newsletter to your vision for customers or employees or for any corrections, in a format readable by anyone on any device.
You can change the following export options:
- Page size: it sets the PDF file format (A4 is the standard paper size)
- Orientation: it determines whether horizontally or vertically orient the template within the PDF file
- Embed fonts: it ensures that the PDF file uses the same fonts as the original document, no matter where you open the PDF or which fonts have been installed on the system on which it appears.
There are also some security options provided:
- Password protect: it protects the PDF document with a password. The password-protected PDF can also allows or not the readers to copy it, edit it or print it through the options Allow copying, Allow Allow editing and printing.
- If you tick the Preview after exporting box your pc will open the PDF at the end of the export process.
Upload to SendBlaster 4
This feature allows you to quickly export templates made with MailStyler on the mass-mailing program SendBlaster 4.
Similarly to the above, you can choose to upload images in MailStyler Cloud MailStyler (Pro version only) or save them locally. The quality of the exported images in JPEG and PNG formats can be adjusted to optimize the overall weight of the newsletter, which can be calculated using the Calculate weight button.
By clicking the Export button the template just created is automatically loaded into the dialing screen of SendBlaster message 4.
Upload to eMailChef
If you own an eMailChef account, you can directly load the template into the platform using your credentials (username and password).