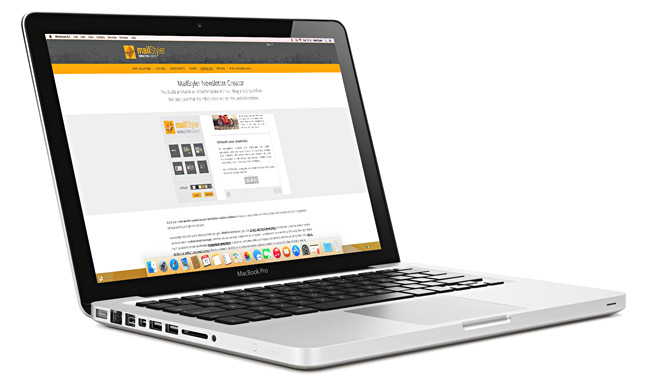
Using MailStyler on OS X is very easy: designing your newsletter taking advantage of MailStyler’s outstanding features will be a piece of cake.
First of all, you need to install Windows on OS X. The procedure is simple, and you can choose between partitioning your hard drive using Boot Camp or creating a virtual machine.
You can find Boot Camp in your Mac’s Utility folder: it helps you partitioning your hard drive, where you can install Windows. Then, booting your Mac you will be able to choose which operating system to use, Windows or OS X.
If you want to run your Mac and Windows applications at the same time, your choice should be a virtual machine: to create one, install software like Parallels Desktop or WMware Fusion. (It could be a very power-hungry solution, unfortunately: better you’d check these software’s system requirements – as well as Windows’.)
Either way, you need to have a Microsoft Windows’ license (and if you choose virtualization, also a license for Parallels or Fusion), then you’re ready to use MailStyler to create your best newsletter. Try it!
Read the complete tutorial on how to install MailStyler on Mac
DOWNLOAD DEMOBUY MAILSTYLER PRO
Pay attention: you will download or buy the Windows version of MailStyler.
You need to follow the instructions on this page to use it on Mac.
Latest release: 2.24.01.17 | Release date: 17/01/2024 | Size: 114.9 MB
License agreement | How to uninstall


