Finding the ideal image for your newsletter it’s not enough: the image must also merge perfectly with your template and your text. MailStyler 2 allows you to manipulate images to be perfect for your communications.
Once you have inserted the blocks and cells you need inside the template, double-click on the image you want to edit. The “Image Properties” window will appear.
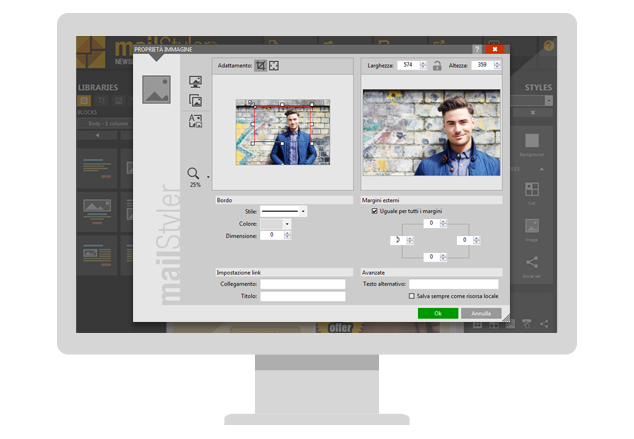
You’ll see three icons on the left: they allow you to choose an image from your computer, choose one from the library of MailStyler 2, add a text box over the image. Below these three icons you will find the magnifying glass icon. You will see a panel in which the image will appear in its original version, and next to the image after your changes. Below you can manage the borders and margins, add links and enter advanced settings.
If you choose an image from your computer, it will appear in the left-hand panel. By clicking on the magnifying glass icon, you can zoom in or out, and you will see the image zoom in or out in the right-hand panel in real time.
If above the original image is selected the Crop icon, you will see a red frame inside the image: that is the part of the image that will be kept (and possibly enlarged or reduced) once you have finished the changes. By clicking on the image and holding down the mouse, you will draw a frame that you can then edit by dragging the sides. You will see the changes preview in the right panel. Clicking outside the area you have selected will cause the selection to disappear.
Above the preview, you will see the width and height parameters of the image, which you can change freely. If you want to maintain the proportions, click on the padlock icon: thus, by modifying one of the two values, the other will automatically change to keep the proportions of the original image.