Each cell in the newsletter can be customized independently form all others and from the Cell style.
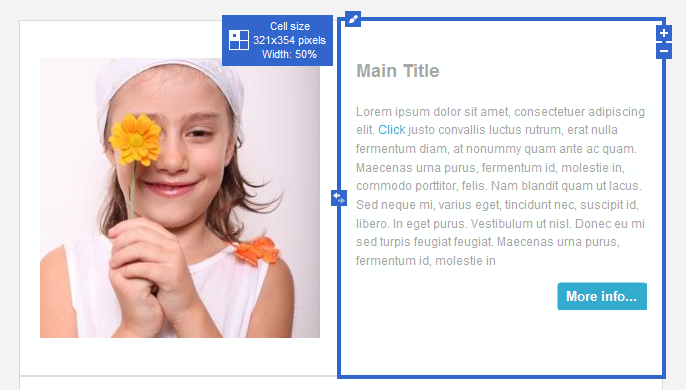
To select a Cell, click on it until the Cell selection frame is displayed.
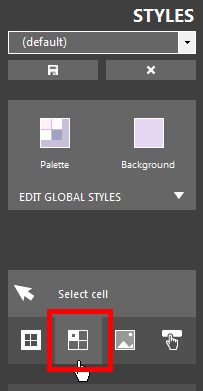
Alternatively, shrink the Style panel and click the Cell selection button until the desired cell gets selected.
| The Cell selection frame | The Cell selection button |
|
|
| Click to enlarge | |
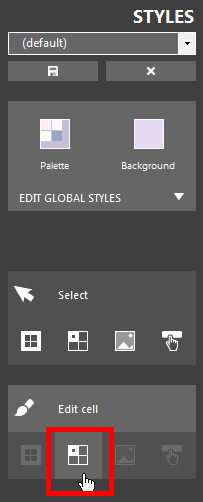
To change the Cell appearance, click the edit icon in the upper-left side of the selection frame, or click the Cell edit button in the Style panel, once the Cell has been selected.
| The Cell edit icon | The Cell edit button |

|
|
| Click to enlarge | |
Depending on the selection status, you can enter Cell editing mode also by double-clicking a cell.
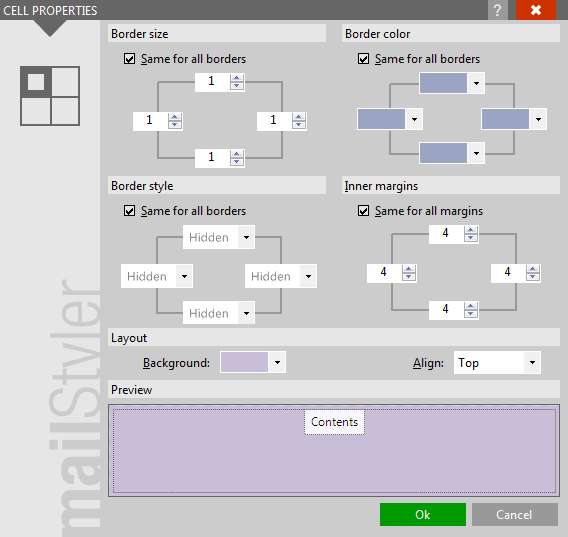
Cell editing takes place in a form much like the one used to edit the Cell style (which applies to all Cells in the newsletter), only this time all customizations will apply only to the selected Cell.
| The Cell editing form |
|
| Click to enlarge |
You can customize Cell appearance by editing the following properties:
- Border size
- Border color
- Border style
- Inner margins
- Background color
- Vertical alignment
ADDITIONAL CELL FEATURES
Each cell can be moved left or right and up or down (on multi-row blocks) by clicking the Move icon found in the corresponding edge of the Cell selection frame.
Also, existing Cells can be duplicated or removed by clicking the corresponding icons on the left edge.
| Cell move | Add/Remove cells |

|
|
| Click to enlarge | |
See also
Top menus
The toolbox
The style panel
Cell selection & editing
Image selection
Button selection