The Export menu enables you to save your newsletter to disk.
Files exported by MailStyler can later be loaded into a mass-mailing software (such as SendBlaster) and further customized, or can be loaded into your favorite e-mail client and sent directly to your mailing list contacts.
CHOOSING EXPORT FORMAT
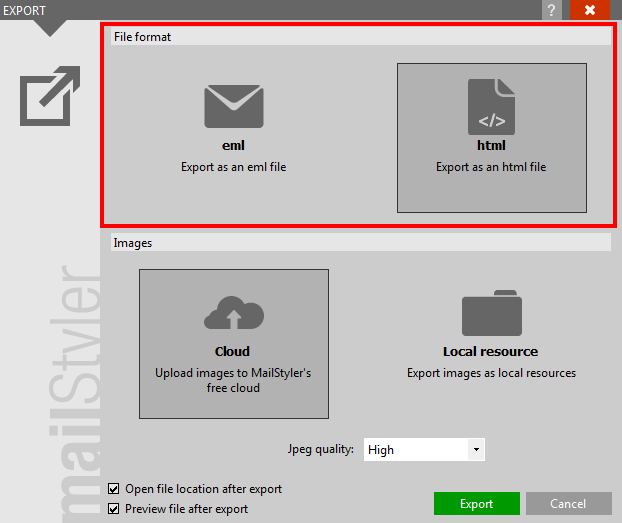
The upper frame enables you to define the kind of export file you want to create.
Choose between EML (better suited for loading the newsletter into an e-mail client, such as Microsoft Outlook) or HTML (preferred choice if you need to load your newsletter into a mass-mailing software).
| Choosing export format |
|
| Click to enlarge |
DEFINE IMAGE LOCATION
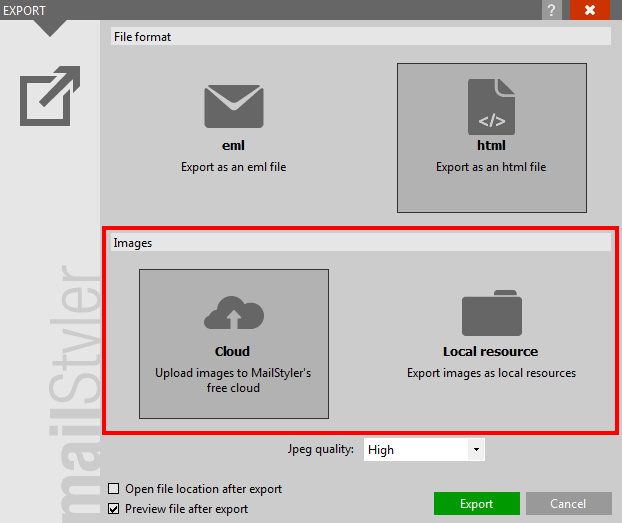
The lower frame enables you to define the destination for the images in the newsletter.
Select Cloud (Full version only) to upload all images to MailStyler's free cloud, so you won't have to worry about all the annoying details related to uploading images to the Internet.
Select Local resource to export the images to a local folder (html files) or to embed them in the file (eml file).
If you choose to export to a local file with local images, MailStyler will also create a folder containing all the images exported. The folder will be named like the exported file, with the extension _files. For example if you export a file named My newsletter.htm, the images will all be placed in a folder named My newsletter_files.
| Define image location |
|
| Click to enlarge |
Regardless of the destination you choose for images (cloud or local) you can force each image independently in the newsletter to be saved locally instead of having it exported to the cloud. See Editing images for more information.
Images saved locally for HTML files will be saved in the My newsletter_files connected folder, while for eml files they will be embedded in the eml file.
The Jpeg quality combo box enables you to define the quality level for jpeg images.
Also, check the Open file location after export check box if you want to open a new explorer window at the location where files are saved and check the Preview file after export check box if you want to open the exported file in the corresponding program.
FILE UPLOAD AND EXPORT REPORT
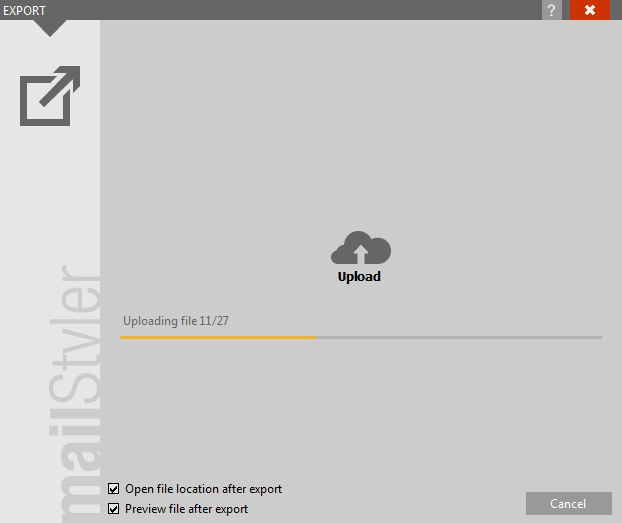
If your export task requires images to be uploaded to the web (Cloud option) , the last step will show you the upload progress.
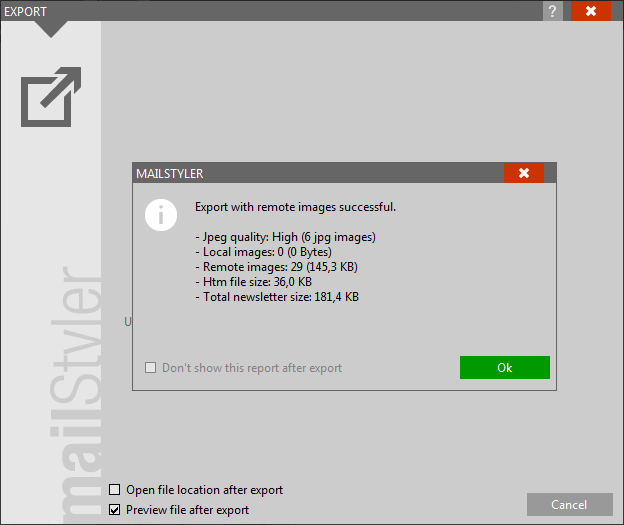
At the end of the export process a report popup will be shown detailing information on the size of the newsletter and the number of images exported.
| Uploading files | Export report |
 |
 |
| Click to enlarge | |