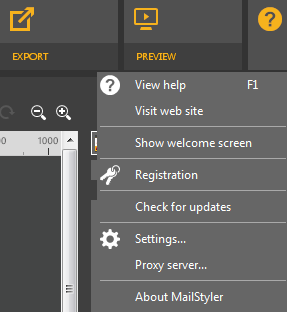
The Help menu contains the following items:
- View help: it opens a browser window and it navigates to this guide.
- Visit web site: it opens a browser window and navigates to MailStyler’s web site, www.newslettercreator.com.
- Show welcome screen: it displays the Welcome screen.
- Registration: Opens the Registration form to activate your copy of MailStyler. In this panel you can also deactivate your copy from your pc, allowing you to activate it again on a new device. The deactivated copy of MailStyler will go back to the Free Version.
- Check for updates: checks for the availability of updates from the web site. In case a new update is found, you will be asked if you want to download and install the new update.
- Download full image library: When you activate MailStyler PRO it will be asked to download the image library. This command remains here in case you were not able to finish your download and you want to restart it.
Once the full library has been properly installed, this menu will no longer be visible. - Settings: it opens a panel where you will be able to set some preferences and work with MailStyler. Check how to modify your preferences here.
- Proxy server: If your internet connection goes through a proxy server that needs authentication, click this menu to show the proxy server settings (see below).
- About MailStyler: Displays a window with information about MailStyler, and the current version.
| Help menu |
|
| Click to enlarge |
SOFTWARE PREFERENCES
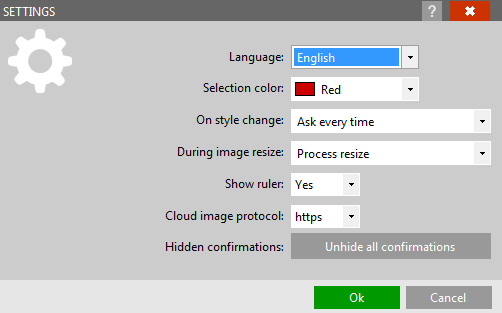
The Settings menu opens a form that enables you to define a few preferences that effect how MailStyler operates.
The available settings are:
- Language: choose your preferred language.
- Selection color: choose between Red and Blue for the selection color used in the newsletter body to highlight the selected elements.
- On style change: Define what happens when you select a new style from the Style panel. The new style can be either applied to the current newsletter and to all blocks later added, or just be selected (without being applied to the current newsletter) and be applied to all blocks added to the newsletter from that moment on.
- During image resize: Define what happens when you resize an image by dragging the anchor points around its selection. The resize operation can apply real-time auto-cropping as you're re sizing it (Process resize option), or it can process auto-cropping at the end of the resize operation, that is when you release the mouse button (Process at the end option), or can just ignore auto-cropping and stretch the image (Don't process option).
- Show ruler: define whether you want the horizontal ruler to be visible while editing the newsletter.
- Cloud image protocol: define if you want images uploaded with MailStyler's cloud feature to be linked via http or https (affects Pro version only).
- Re-activate hidden confirmations: Click this button to re-enable all warning messages that might have been hidden by clicking the option "Do not show this message again".
If you want MailStyler to apply its powerful image auto-cropping feature, select one of the first two options, depending on your system capabilities. The Process at the end option has been added in case the system has limitations and real-time processing is not fluid.
| Settings window |
|
| Click to enlarge |
PROXY SERVER
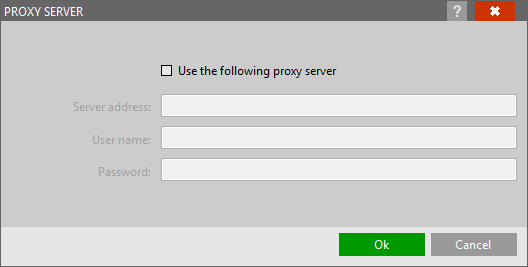
A proxy server is often used in companies for security reasons. If your internet connection goes through a proxy server, this form will enable you to enter proxy server connection parameters that will be used every time MailStyler needs to connect to the web, whether is for uploading images or validating your registration code.
Click the "Use the following proxy server" checkbox to activate the fields. Fill all required fields and click Ok to confirm. You might need the assistance of your system administrator.
| Proxy server window |
|
| Click to enlarge |